Monday, June 2, 2014

Blog 6

Original art.

A lot of the time for my drawings I use an inspiration for my art.  For the change project, I wanted to do something original that represented change kind of low key.  I decided to draw a girl from when she was a baby to death, to show how much someone physically changes while they grow.  I didn't have an inspiration  for this piece so I just kind of went with it.  I like the way the final product came out and enjoy seeing the change.


Learning New Techniques


When I was creating my visual journal, I didn't know

how to use the modge podge, and i didn't know where to start.  It took me a while to figure out how much to use and things like that but i eventually got the hang of it.  I had never created a visual journal or used modge podge before but now that i've learned a new technique and created the journal I love it.  I love the way it turned out and how it's about future places i want to go.  I feel like it shows my identity and where I want to go.  

Solving Problems

When creating art, you can come across problems.  One of the problems I came across during my decorative sculpture project was trying to get the wire to go and stay in the direction I wanted it to.  Eventually I figured out how to make it stay by experimenting with the wire and using different tools to help me.  I kind of like the way it turned out.  I feel like it could have been better but the birds I think make it look real.  I went on a limb and used wire and had to solve a few problems to get the final outcome the way I wanted it.

Tuesday, May 6, 2014

Blog 5


Warm Ups


For warm ups, we've been doing sign language letters and perspective drawings.  The two point perspective drawing (pictured to the right) was difficult to do at first.  The roads would look like they were getting taller and taller and equal the same height as the building.  Eventually after a couple of times, I got the hang of it. During these warm ups, I learned new techniques on how to make my drawing look 3D.  You have to have 2 vanishing points and lines where the top and bottom of your building will be.  From there you connect them with diagonal lines and so on.  Learning this new technique will help me in my other drawings and will help other drawings look more 3D


Print Making

Final Product
Print making was really fun for me.  I created an original art from making a sketch of what I wanted, transferring it to a lino block, then from there carving out places i didn't want to have paint.  After that you roll block printing paint on the block and then just massage the print into a piece of paper and then you have your print.  It was easier than I thought and I like the end result.  
Couple of tries


2 designs
After we all finished our prints, we got to walk around the room and look at everyone's different prints and see how unique each one was.  Doing this and asking questions about each piece gave us a better understanding of the emotion that they wanted to show and the different creativeness of each student.

Sunday, April 20, 2014

Color, Style & Fun

Color Project

For the color project, we were supposed to make a piece of art, with the theme of feelings and emotions, by using watercolor or acrylic paint. For my color project, instead of doing an exact painting of something, I decided to do a more abstract work.  I wanted to convey the feeling of calmness and chillness.  So I used different shades of blue in random lines to convey that feeling.  I like the texture and rhythm it has and how the colors blended well.  At first i didn't know what to do for the project.  I looked at ideas on pinterest and I thought I wanted to do a nature scene.  Then I saw an abstract painting and knew that I could convey more feeling through a painting like that than a more realistic painting.  I feel like I did good at conveying the emotions and feelings I wanted to come across.  This piece was creative and original.  I used my own ideas and feelings to convey my emotion and feelingsyou

Style Project

For the style project we were supposed to find an artist to focus on for this project, and Research and write about the artist in a blog post or present to the class,  We were to include a biography and style analysis.  The artist I choose was Van Gogh.  I choose him because I like the style and method he uses to make his paintings.  In his painting, he uses small brushstrokes with different bold colors to create emotion and feeling in his art.  Van Gogh's style of art was post impressionism and realistic.  He died at the age of 37 because of mental illness causing him to commit suicide.  For the other half of the project we were supposed to recreate a piece of work by either making a parody or using the artists style to make a piece of work.  I used the artists style to make a piece of work.  So I used small brushstrokes to make a sunflower.  While doing this project, I developed new art making skills.  I used Van Gogh's style that ive never used before and it was hard to do at first but after a couple of times I managed to recreate the artists style.


Fun Friday 

For fun Friday, we critiqued the pieces of work from the color and style project.  Everyone walked around and wrote down one comment about something they liked or a question they had about the work someone else did.  We also had 2 stickers; one to put on whatever piece you thought was most creative and one that was most original.  Getting to walk around the room and look at other works of art people made should how artists communicate through their work.  You could see the different emotions and feelings that were trying to be shown through the art and you could see the different styles people were doing based off of a certain artists but they made it their own.  

Wednesday, April 9, 2014

Van Gogh

Facts about Van Gogh


  • Born: March 30th, 1853 in the Netherlands
  • Died: July 29th, 1890 in Paris 
  • Making him 37 when he died
  • He died at such a young age because he went through mental illness where he cut of a portion of his ear, was sent to a mental asylum, released, became suicidal, and shot himself.  In the asylum, he created some of his most famous pieces like the ones below.

Irisis
Starry Night


Art Style


  • Post Impressionism
  • First paintings were Realistic but then changed to use a technique of Paul Gauguin - memories
  • Rough beauty
  • Emotional 
  • Bold Colors

Art


Thursday, March 20, 2014

Space, Sky, and Color

Space and Solving Problems

In my space drawing, I wanted the moon to be a focal point. So I made it big and centered and put the galaxy behind it. I took a few risks. One risk was mixing oil pastels to make the galaxy background. I'd never mixed oil pastels and didn't know if it would mix correctly or if they would just sit on the paper and not blend. After experimenting on my paper, I felt that they would work well enough for the background and this is the final product...


I really enjoy how the final product turned out. When I was using the oil pastels, I got annoyed and mad because some of the blue and purple from the galaxy got into the white of the moon. But in the end, I used those mistakes to make shadows in the moon. Without those shadows, I don't think the artwork would look the way I wanted it to come out. 

Sky and Taking Risks

For my sky drawing pictured to the right, I used new techniques that I learned and new materials.  This was the first time I used chalk pastels.  Chalk pastels are interesting.  They blend and mix well to make good sunrises like in the picture but they get everywhere and it is easy to mess up.  If certain colors (complimentary) are blended together, they make the color brown.  So I had to be careful that the blue and orange in the sunrise didn't mix.  I wanted the focus of this picture to be the sky because that was what the assignment was so instead of drawing detailed land, I just made it a silhouette.  I like how the chalk made a smooth service of colors that were blended in just the right way.  I took a risk with using a material I hadn't used before even though I knew if i mixed the wrong colors, the whole piece could be ruined.


Color and New Techniques

Part of this unit was learning different types of paints and techniques for the different types of paint.  We learned the color wheel, pictured to the right, and how to make tints and shades of a color by mixing primary colors (red, yellow, and blue).  Another thing we learned using water color paint is how to make brown.  You combine different amounts of the primary colors and to get a lighter shade you add water.  We also used water color paints to create different techniques including wet on wet, gradient, texture, and dry brush, pictured above.  I learned by mixing different combinations of the primary colors and shades and tints, you can create basically any color needed.  We also learned about 2 different types of paint; water color, and acrylic.  The chart to the right shows the difference between water color and acrylic.  

Paint vs. Chalk

If I had to choose which method is the best, I would choose paint.  Paint to me is a lot easier to use and is faster than chalk.  You can cover more area with paint and it looks smoother than chalk.  


Paint Vs. Chalk

Thursday, February 27, 2014

Sketching

Two in One Project

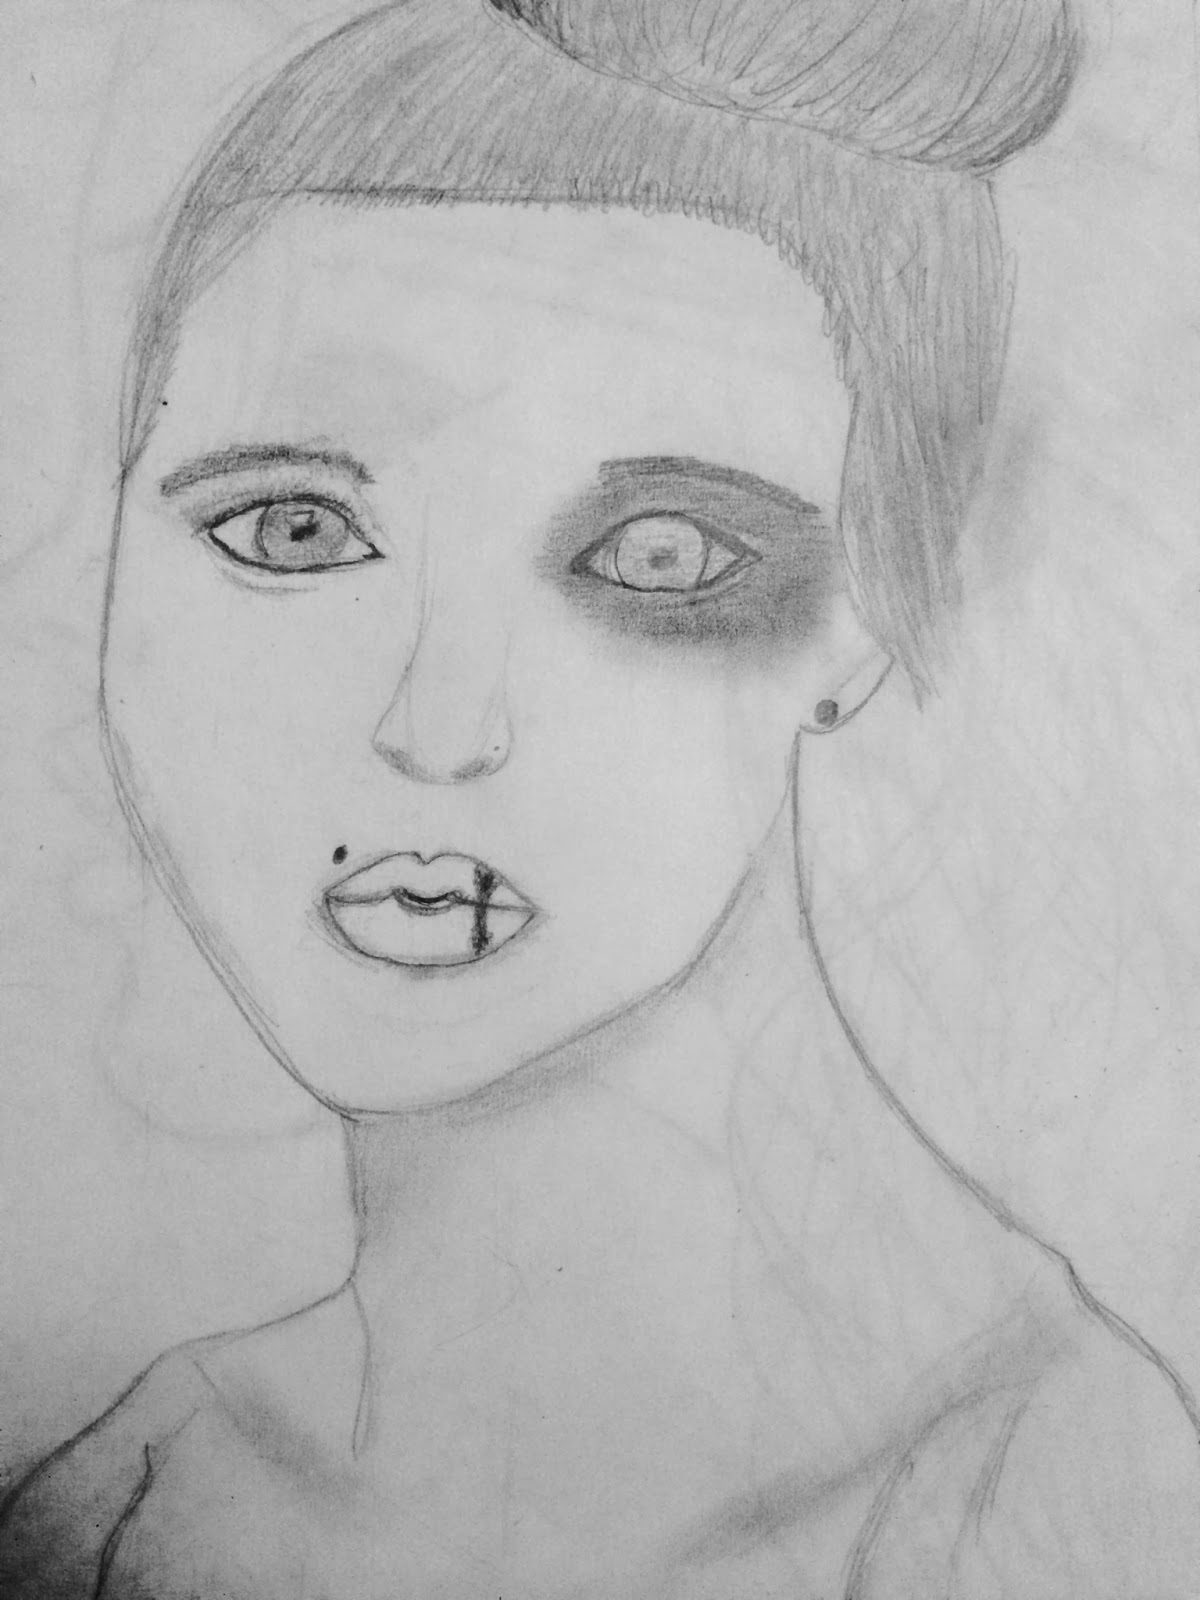
For my two in one project, I drew a girl that was skinny, bruised but beautiful.  The theme to this drawing was just because something is beautiful, doesn't mean they're not in pain.  In this drawing the girl on one side of her face is flawless.  She has makeup on, her hair is pulled into a perfect bun; but as you look on the other side of her face, she has a black eye, a cut lip, and a bruised shoulder.  The picture to the right is the sketch/plan for the sketch, it isn't the final.  The final took time, reflecting, and collaborating.

Solving Problems in my art

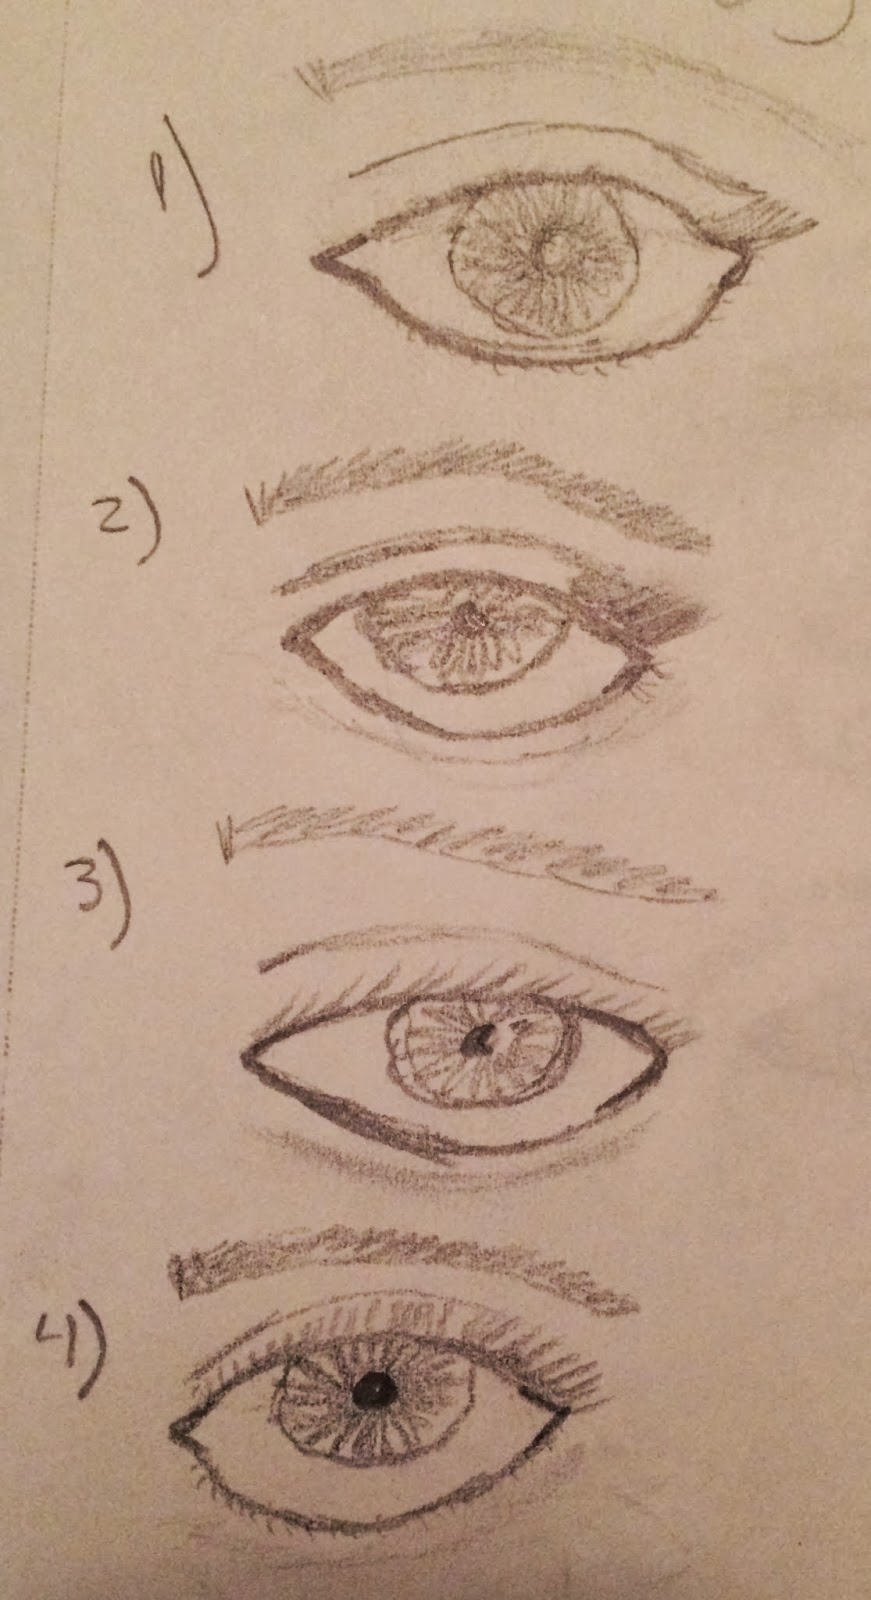
Anytime anyone makes art, they run into problems.  Like creating the correct proportions, or making sure that shading is in the appropriate spots.  In my two in one project, I had to make sure the face proportions were matching and that her facial features looked realistic.  It took me multiple times to get the final just how I wanted it to look.  Whenever I messed up, I would you my previous mistake as a learning opportunity to not make that mistake again the next time.  I would try different eye shapes, different lips, different hair styles, until I got it exactly how I wanted it.  When you have problems in art, you can't give up.  You just have to keep trying and keep erasing and redrawing until you get it right.

Reflecting

During the piece of work to the right, I did a lot of reflecting.  Every time something didn't look right, I would start over.  When an artist is reflecting his/her own artwork, they notice things other people wouldn't because they know what they want.  Its better to not focus so much on what you see but what other people notice.  I learned that if you hang the picture somewhere and step back and look at the art, you get to see the big picture instead of areas that you don't think are perfect.  When arting, you have to reflect whether its the artist looking at it from afar or getting someone else to look at it.

Taking Risks

In my two in one, I took a risk by not doing a piece where it was obvious it was two in one like a horse head on a human.  Instead, I did a piece where there was two in one emotions and moods.  I took beauty and pain which normally don't go together and mixed them in a piece of art.  The work has a dark mood to it because the focal point is the black eye.  It surprises people.  Another risk I took was not including a background.  I felt like if there was a background, it would take away some of the focus.  I also only used color on the wounded parts of her so that they would stand out.  I took a risk of barely using any color.  When you art, you have to take risks sometimes to reach your full potential.  

The final outcome of the Two in One Project is...

Oil Pastels

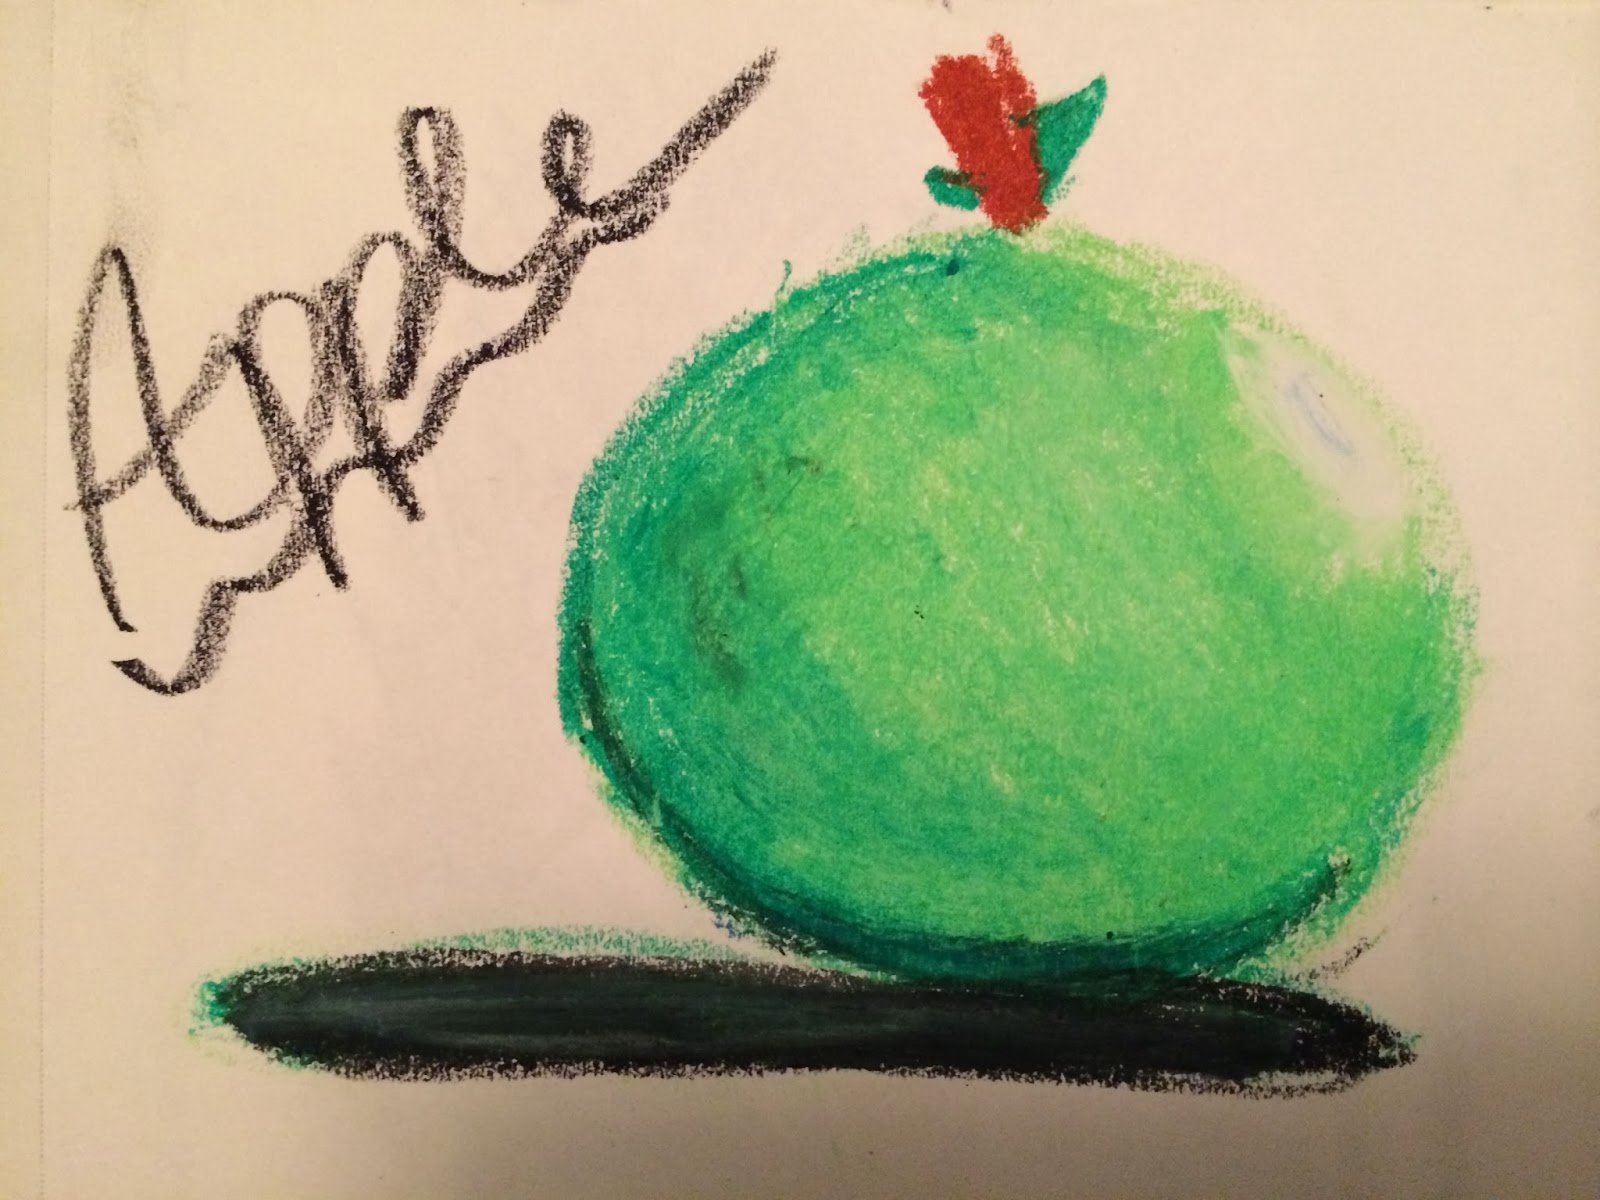
During this week, we were introduced to oil pastels.  They are my favorite choice of drawing tools.  They are my favorite because they make the drawing look smooth and you can blend colors easier. 


Thursday, February 6, 2014

Arting

Zentangles and original art.


Most of the time for my drawings I use an inspiration for my art.  For the zentangle pictured to the right, I used my room as inspiration.  My room has a European travel theme and I love Paris so I wanted to base my drawing off of those emotions.  I'm also pretty basic so even though there isn't crazy patterns on the zentangles, I drew simple lines that change patterns and direction.


Learning New Techniques

Already, I have learned new techniques and improved my drawing skills.  I learned how hard it is to draw an object when you aren't looking at it.  The pictures on the side show a drawing of the same object.  On the left I didn't look at it and on the right I did.  The difference is obvious.  I also learned different techniques with shading, value, and how to make
things look 3D.


Artists Collaborate

In art, artists need to share their work and receive constructive criticism to know what to improve on.  When artists share their opinions on a painting, it gives the artist new ideas and helps them with future works of art.  I've used the opinions of others by taking their constructive criticism and using techniques they liked in other drawings.  I also used the feedback of people around me when I'm in the process of drawing to ask them if something in the drawing looks okay. When artists collaborate, it affects their work.